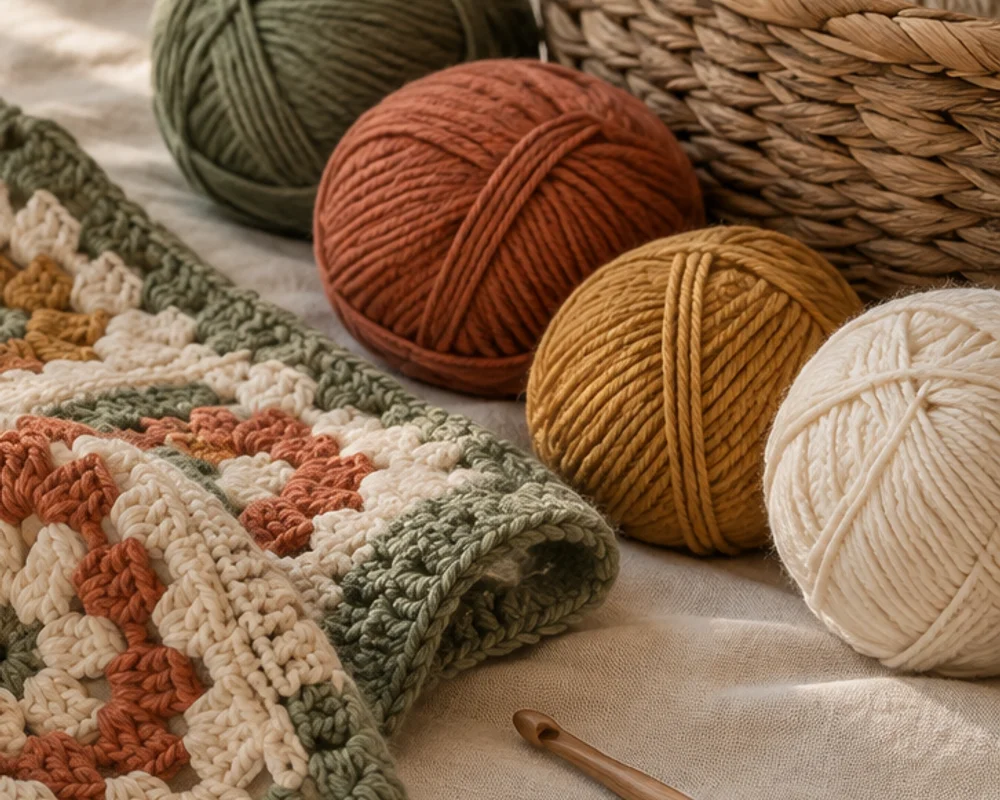
Start with a small kit
Your first crochet kit can be simple. Gather one ball of smooth yarn, one matching hook, scissors, a blunt yarn needle, and two locking stitch markers. A ruler or tape measure is useful once you begin comparing the size of your work. You can add other tools when a project actually calls for them.
If you already own supplies, use them to practice before shopping. Check that the hook can pass through a loose loop of the yarn comfortably. A yarn that is easy to see and a hook that feels comfortable matter more than a large coordinated set.
Choose yarn you can see clearly
For a first practice piece, choose a solid, light or medium color with a smooth surface. Cream, pale blue, or soft peach lets you see individual loops more clearly than black yarn. Avoid highly textured, fuzzy, or plush yarn for the first lessons; its surface can hide the place where your hook needs to go.
Read the yarn label for fiber content, thickness category, length, care instructions, and suggested crochet hook size. A medium-weight yarn is a useful starting point, but labels and yarns vary. Pick the hook suggested for that particular yarn rather than treating a weight category as an exact size.
Acrylic can be useful for inexpensive practice. Cotton is a practical option for a simple coaster or bookmark when the pattern calls for it. Check the care label before planning a washable gift. Save the label so you can identify the yarn later.
One comfortable hook is enough
Choose a standard crochet hook with a clear millimeter size marking. A hook around 5 to 5.5 mm often suits a beginner practice yarn, but the yarn label and project instructions should guide your final choice. An ergonomic handle may feel comfortable, while a plain metal hook may also work well. There is no handle shape that suits every hand.
The shaft behind the hook head sets the size of your loops. Leave enough exposed shaft to let the yarn move. If you squeeze the handle tightly or push stitches onto a thick grip, the movement can become awkward. The next lesson explains hook shapes and sizes in more detail.
The little tools that earn their place
- Scissors: use a pair that cuts yarn cleanly. Keep sharp tools safely stored.
- Blunt yarn needle: choose an eye large enough for your yarn. You use it to weave loose ends into finished fabric.
- Locking stitch markers: mark the first and last stitch of a row. Use a removable marker that opens, rather than a closed knitting ring that can become trapped.
- Ruler or tape measure: check a practice square or finished project without stretching it.
- Notebook: record the hook size, yarn, and number of completed rows.
A short piece of contrasting yarn can serve as a temporary marker. Keep it loose enough to remove easily. A project bag is convenient, but any clean container can hold your supplies.
Check a kit before buying it
Look for a list of included tools and a clear yarn description. A kit with several dark, fuzzy yarns may be harder to learn from than a single visible yarn. Written instructions should say whether they use US or UK terms. Product labels such as beginner do not explain which skills a project requires.
Skip a large hook collection until you know which sizes your projects use. A row counter, blocking boards, and specialized hooks can be helpful later, but they are not required to learn a slip knot or a chain. Spend your attention on practicing rather than organizing tools.
Set up your first practice session
Sit where you have enough light to see the yarn loops. Put the ball where it can unwind without rolling away, and keep the scissors nearby but away from the moving strand. Pull a little yarn from the ball before starting so you are not fighting its weight.
Make a checklist: visible yarn, matching hook, scissors, needle, and markers. Read the label and write down the hook size in millimeters. Those two small habits will help you repeat your setup later.
Do I need special left-handed tools? Most standard crochet hooks work in either hand. How much yarn should I buy? For practice, begin with one ball; for a project, follow its yardage requirement. Continue to How to Choose Your First Crochet Hook before choosing a hook set.